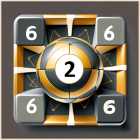
For this game you need a common set of multi-sided dice, with 6, 8, 12, and 20 sides.
You can use real dice, an online dice simulator such as dice-simulator.com, or the dice
provided within our Autohotkey Setup
which is recommended for saving your songs.
The game creates innovative chord progressions, that change key (modulate) often,
as this is the secret to sensational sounding music. The Harmony Map will give your
Random Chords the best Modal Scales to build your improvisational melodies upon.
The goal is to modulate back to a harmonious loop, and establish final melodies.
With all Hotkeys enabled, press D to load the Standard Dice.

Or press M to load the special Harmony Dice.

Once loaded, press D to Roll the Dice and follow the flow of the game.
With the standard dice, at first you will want to use the Reference Chart.
With the special dice, you will more clearly see the notes, chords, and intervals.
Functionality of the various dice is explained here with a sample of game-play:
(on mouseover, the darkened dice are not relevant to the roll)
 - First Roll -
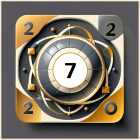
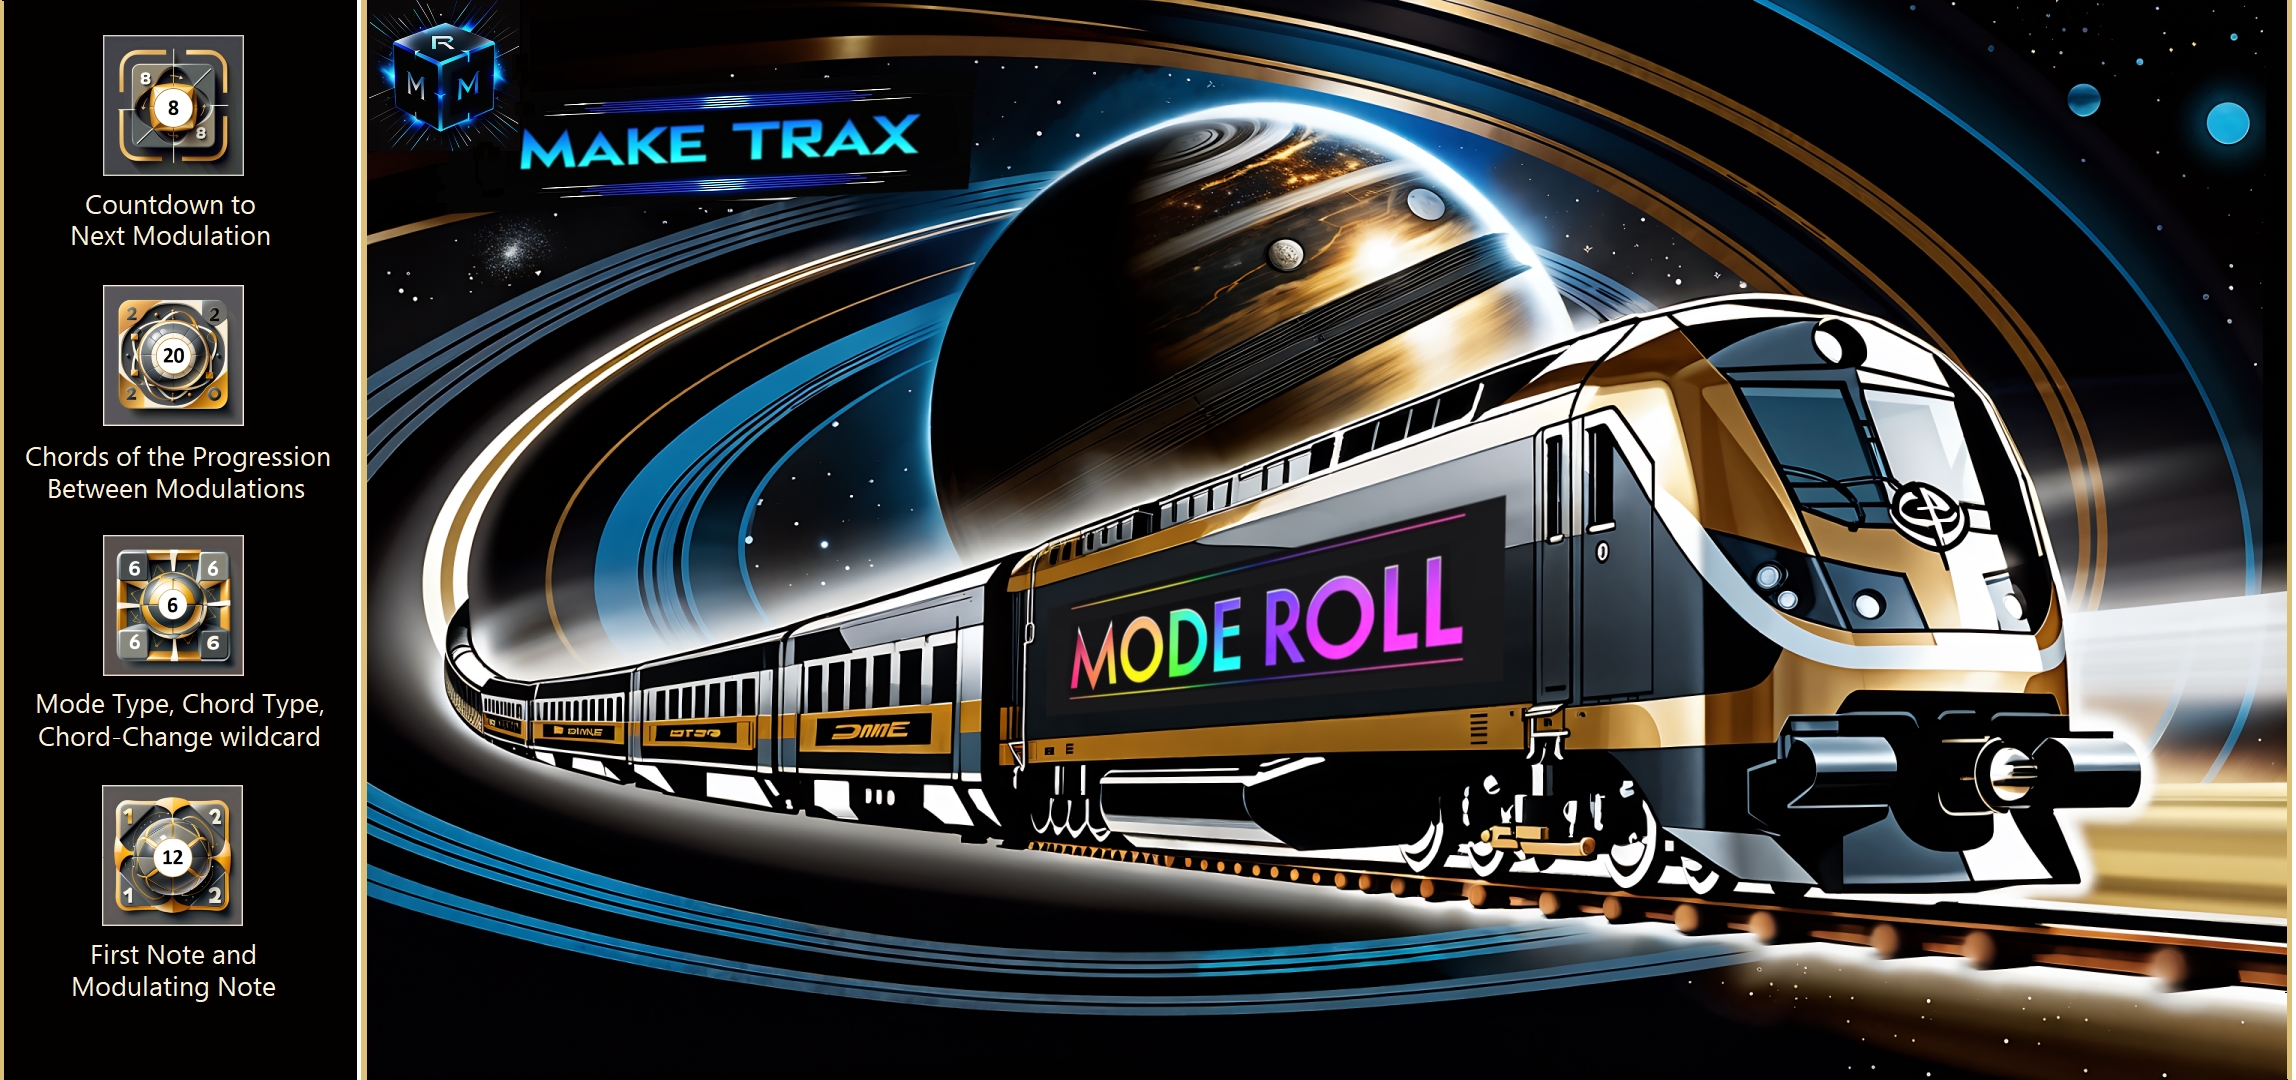
The 8-Dice gives the number of chords before key-change; we rolled a 3. In Modal Theory,
even frequent key changes can be considered 'modulations'. This dice will manually count
down to 1, then we'll roll it again at the 'Modulation Roll' - starting a sensational new cycle.
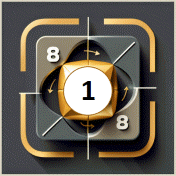
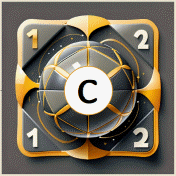
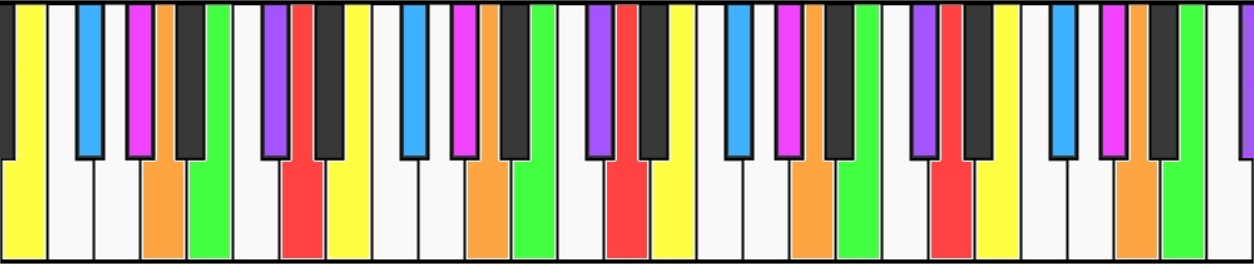
The 12-Dice determines each cycle's first note; we rolled a 10. The 12 values correspond to
the 12 chromatic notes as shown here, starting with 1 aligned with C. We rolled bass-note A.

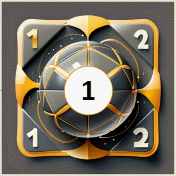
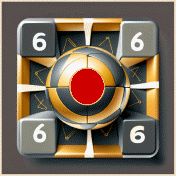
On the first roll, the 6-Dice determines the first mode. Its numbers coincide with the 6 'melodic'
Main Spectrum Modes R.O.Y.G.B.I. So a 2 gives us the Main Orange Mode a.k.a. Ionian Mode.
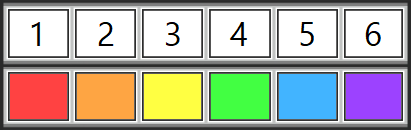 So our first Mode is A Main Orange.
( A Ionian )
On the first roll and on later Modulation Rolls, the 20-Dice is not needed. Though
it could be considered here as a Wildcard option to replace your next 20-Dice roll,
which gives you the next chord of your progression - as explained on the next roll.
We had rolled a 3 on the 8-Dice, so on the next roll we'll turn it to face 2, and so on.
 - Second Roll -


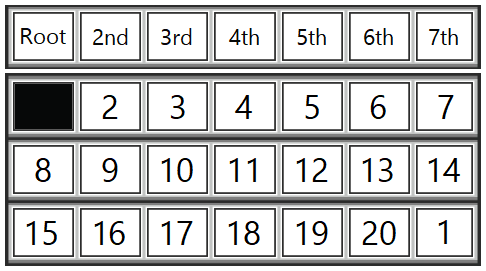
Except at the beginning of each cycle, the 20-Dice determines the next Chord of the Progression
by providing a Scale-Degree relative to the present Modal-Scale. We are presently on A Main Orange;
we rolled a 9, and according to the following chart, this puts our next Chord at the 2nd scale degree
relative to bass-note A. Note that rolling a 1 is treated as if a 21 and would indicate the 7th degree.
The reason for this anomaly regarding 1 is to minimize the chances of repeating the same chord.
On our instrument's chart, it is easy to see that the 2nd degree of A Main Orange is B Main Green.
( B Dorian )
|
|
which would put us at F# Main Blue (Aeolian) for our second chord. Instead, let chance mostly lead the way. The wildcard is especially useful when we land on the 'non-melodic' Violet (Locrian) position. |
We had a 2 on the 8-Dice, so on the next roll we'll turn it to face 1.
 - Third Roll -

This third roll follows the same logic as the second roll. We're presently on the B Green Mode.
Rolling 11 on the 20-Dice, means go to the 4th scale-degree for our next mode, E Main Yellow.
( E Mixolydian )
Since our 8-Dice has counted down to 1, it is time for a Modulation Roll.
 - Modulation Roll -


The Modulation Roll is similar to the first roll of the game, except that here the 6-Dice
only gives us the Chord's Polarity Maj or Min +|- instead of giving us the specific Mode.
Rolling an 8 on the 12-Dice is Note G, and rolling a 3 on the 6-Dice gives a Major Chord.
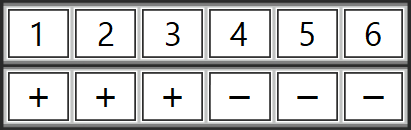 So our next Chord is G Major.
We will now have to use the Mode-Roll Map of Harmony to determine the best Modal-Scale
to use with our G Major Chord, to give our new key and new cycle a sensational start.
Continue with additional cycles until a substantial journey can return harmoniously
back to the very beginning forming a continuous loop, as a piece of musical material.
Playing a game of Mode-Roll Dice with the Standard Dice.
The full videos with Harmony Map are coming soon.